When Your Insulin Pump Site Hurts – Here's What to Do

Why Insulin Pump Site Pain Happens and What You Can Do About It
Insulin pump site pain is a common—but usually fixable—part of continuous subcutaneous insulin infusion (CSII) therapy. While insulin pumps offer incredible freedom and tighter glycemic control, that all depends on a successful connection between the device and your body. When that connection point hurts, it's not just an annoyance; it's a signal that your diabetes management could be compromised. A little know-how goes a long way toward keeping you comfortable and in range.
Quick action checklist:
- Remove the set right away—never try to “push through.”
- Check your blood sugar, and test ketones if BG > 250 mg/dL.
- Re-insert in a new spot at least 1–2 inches away.
- Call your doctor for spreading redness, swelling, or fever.
- Get professional help if pain keeps returning.
Most discomfort is temporary. In published studies, 86% of pump users report little or no pain during normal wear. Problems generally stem from poor insertion, over-used skin, or early infection—and all improve quickly when you act fast. Understanding the root cause is the first step toward a pain-free pumping experience.
At ProMed DME we ship quality pump supplies nationwide, offer free shipping, and even have a nurse on staff to answer site-care questions. The tips below come from what we see working for hundreds of pump users every day.
Understanding the Causes of Insulin Pump Site Pain
When a site hurts, your body is waving a warning flag. Pain can feel like stinging, aching, itching, or burning, and it often shows up with rising blood sugars because irritated tissue absorbs insulin poorly. Distinguishing between the types of problems can help you find the right solution faster.
Irritation vs. Allergy vs. Infection

- Irritation: This is the most common issue. It looks like localized redness or a mild itch, usually confined to the area directly under the adhesive or cannula. It typically resolves on its own within a day of removing the set. It's often caused by the insertion itself, sweat, or friction from clothing.
- Allergy: A true allergic reaction is more intense. You might experience a severe, persistent itch, a raised rash (hives), or even small blisters that extend beyond the adhesive patch. This suggests a sensitivity to the adhesive material or, less commonly, the metal or plastic of the cannula.
- Infection: This is the most serious and requires prompt medical attention. Signs include redness that spreads, significant swelling, skin that is warm or hot to the touch, persistent pain, and pus or other drainage from the site. You may also develop a fever or feel generally unwell.
Mechanical Trouble Spots
Improper insertion technique is still the #1 reason for site pain:
- Cannula in muscle or nerve: Hitting a muscle causes a deep, aching pain that may worsen with movement of that body part. Hitting a nerve can cause a sharp, shooting, or electric-like pain. Both scenarios will likely lead to poor insulin absorption and high blood sugar.
- Kinked or dislodged cannula: A bent or kinked cannula blocks insulin flow, causing pressure at the site and unexplained high blood sugars. A partially dislodged set may leak insulin onto the skin, which you might smell or see as moisture on the adhesive.
- Re-using the same area (Lipohypertrophy): Consistently using the same small patch of skin leads to lipohypertrophy—a buildup of fat and scar tissue under the skin. This tissue is lumpy, sometimes painful, and has poor blood flow, which means insulin absorption is slow and unpredictable. Never insert a set into an area of lipohypertrophy.
Infusion-Set & Insulin Factors
- Cannula type: Flexible Teflon (plastic) cannulas are comfortable for most people, especially during physical activity. Rigid steel cannulas are a great alternative for those who frequently experience kinked cannulas, as they are virtually kink-proof.
- Length & angle: The goal is to place the cannula firmly in the subcutaneous fat layer, not the skin or muscle. A standard 6 mm straight (90-degree) set works for many. If you are very lean or muscular, a shorter cannula or an angled set (which inserts at 30-45 degrees) may be more comfortable and effective. Conversely, those with more body fat may need a longer 9 mm cannula.
- Insulin factors: Some ultra-rapid-acting insulins contain additives that can cause a brief stinging sensation. Slowing down the bolus speed on your pump can often minimize this. Additionally, infusing cold insulin directly from the refrigerator can also cause stinging; always let your insulin come to room temperature before filling your pump reservoir.
For a deeper dive, see the Troubleshooting Acute Infusion Set/Site Issues guide.
What to Do Immediately When Your Site Hurts
Pain means potential insulin delivery failure. Because this can quickly lead to high blood sugar (hyperglycemia), it's crucial to act fast. Don't try to tough it out.
- Remove the set immediately. Do not wait or hope it gets better. As soon as you feel persistent pain, the site is compromised. Gently peel off the adhesive and withdraw the cannula.
- Inspect the old site and the cannula. Look at your skin for signs of infection (spreading redness, pus, warmth), irritation, or bleeding. Check the cannula itself—is it bent or kinked? Is there blood inside the tubing? This information helps you troubleshoot the cause.
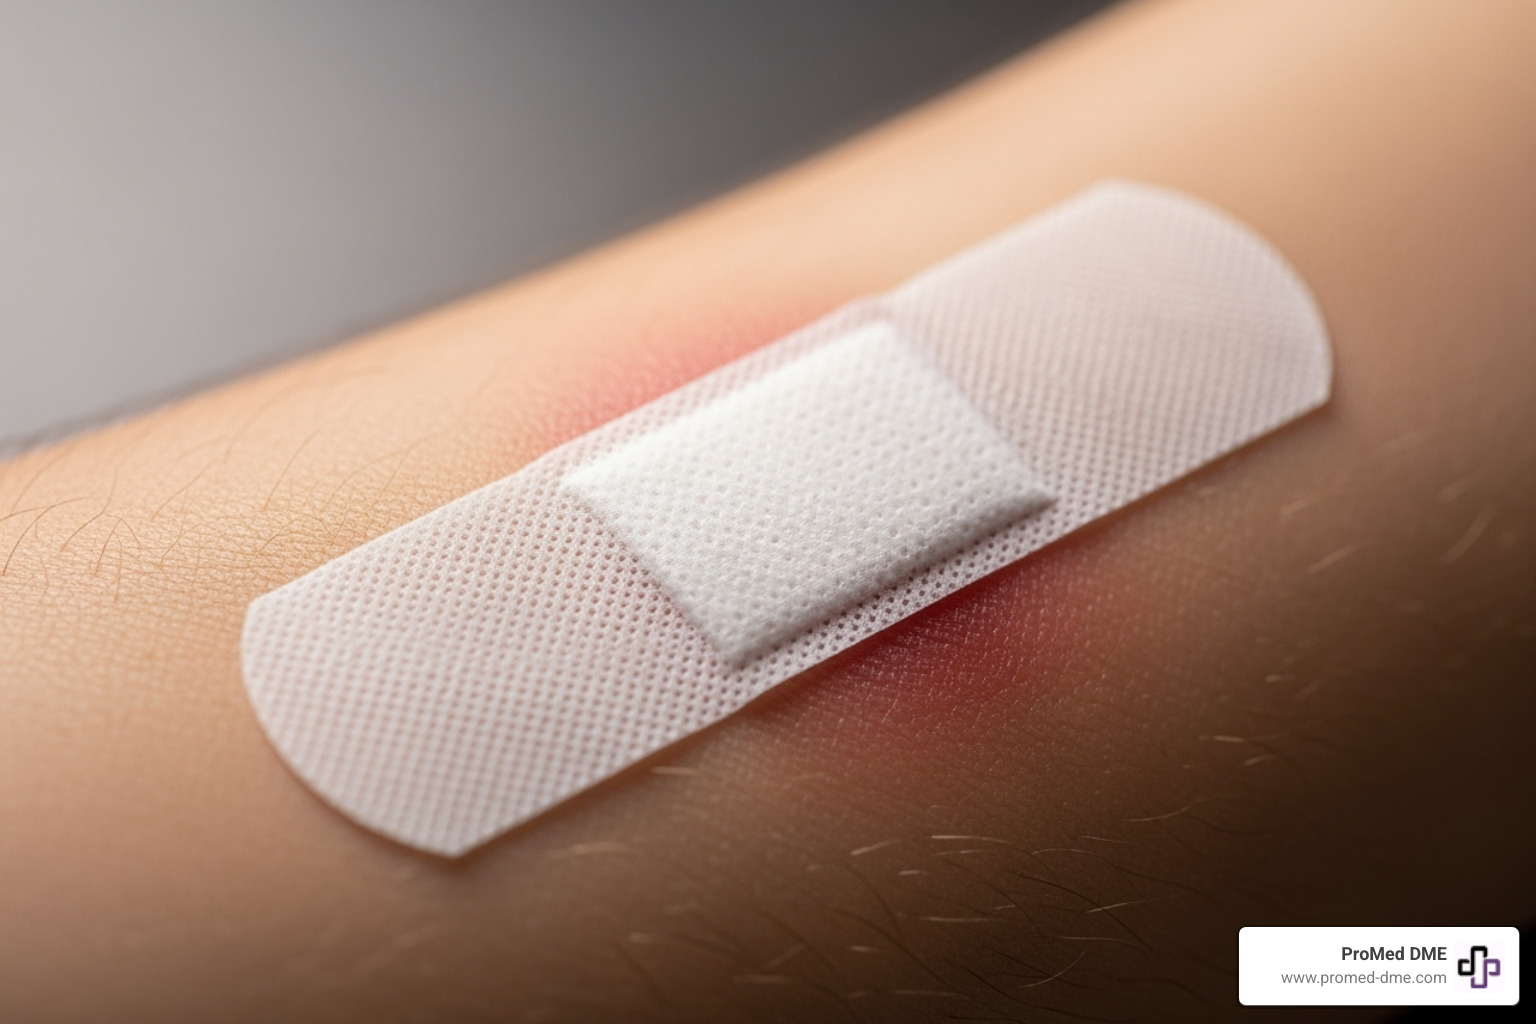
- Clean the skin. Gently wash the area with soap and water, pat it dry, and cover it with a simple adhesive bandage if it's bleeding or open.
- Insert a new set in a fresh location. Choose a spot at least 1–2 inches away from the old one. It's even better to move to a completely different body part (e.g., from the right side of your abdomen to the left, or from your abdomen to your arm) to give the previous area a complete rest.
- Check your blood glucose (BG) and correct if necessary. Your BG is likely liftd because the painful site wasn't delivering insulin properly. Check your sugar now. To bring a high BG down safely, use an insulin pen or syringe for your correction dose. This ensures insulin is delivered effectively while the new pump site begins to absorb.
- Test for ketones. Any time your BG is over 250 mg/dL (13.9 mmol/L), especially if it's accompanied by a failed site, you should test for ketones. The presence of moderate to large ketones indicates a severe lack of insulin and requires immediate action to prevent diabetic ketoacidosis (DKA).
- Document the event. Make a quick note in a logbook or phone app about the pain, the site's appearance, and your blood sugar. This helps you and your healthcare team identify recurring problems and patterns.
When to Call for Help

Contact your clinician or diabetes care team right away for:
- Signs of infection: Redness that spreads (you can draw a circle around the red area with a pen to track it), skin that is hot to the touch, swelling, or pus.
- Systemic symptoms: You develop a fever, chills, or feel generally sick and achy along with a painful site.
- Persistent lumps: A hard, painful lump that doesn't get smaller after 24-48 hours.
- Stubborn hyperglycemia: Your high blood sugar does not come down even after a correction dose and a second site change.
Seek emergency care if you have symptoms of DKA (nausea, vomiting, stomach pain, fruity-smelling breath, deep and rapid breathing) or if you have a fever over 101 °F (38.3 °C) with a rapidly worsening skin infection (cellulitis).
How to Prevent Infusion Site Pain and Complications
An ounce of prevention is worth a pound of cure, especially in diabetes care. Consistent, comfortable pump therapy rests on three pillars: meticulous site rotation, proper technique, and using the right supplies for your body.
Smart Site Rotation

This is the single most important habit for long-term pump success. The goal is to give each patch of skin ample time to heal completely before it's used again.
- Use a System: Don't leave it to chance. Use a structured pattern. On the abdomen, you can imagine a clock face and move from 1 o'clock to 2 o'clock with each change, or divide your abdomen into four quadrants and rotate through them. Other patterns like an "M" or "W" shape also work well.
- Expand Your Real Estate: While the abdomen offers the most predictable absorption, don't neglect other approved areas. The upper buttocks, outer thighs, flanks (love handles), and the back of the upper arms are all excellent options that give your primary areas a much-needed break.
- Keep Your Distance: Ensure each new site is at least 1-2 inches (about two finger-widths) away from the previous one. Avoid inserting near your navel, into scars, stretch marks, or moles.
- Track Everything: Use a dedicated app, a simple notebook, or even a calendar to jot down where and when you place each site. This visual record prevents you from accidentally re-using a spot too soon. A site should rest for at least a week, but longer is even better.
More details: Insulin Infusion Set Site Rotation Toolkit.
Prep & Insertion Tips
- Start Clean: Always wash your hands thoroughly with soap and water. Clean the target skin area with an alcohol wipe and—this is key—let it air dry completely. Inserting through wet alcohol will sting and can weaken the adhesive.
- Prepare the Area: If the area is hairy, shave it at least 24 hours in advance, not right before insertion. This allows any tiny nicks from the razor to heal, reducing infection risk.
- Temperature Matters: Let your insulin come to room temperature before filling your pump. Cold insulin is more likely to cause stinging upon infusion.
- Perfect the Pinch: For straight sets, gently pinch up a fold of skin. Insert the cannula swiftly and decisively at a 90-degree angle. This helps ensure the cannula lands in the subcutaneous fat, not the muscle below.
- Secure the Site: After insertion, press down firmly on the entire adhesive pad for 30-60 seconds. The warmth of your hand helps activate the glue for a stronger bond.
- Add a Safety Loop: Create a small, loose loop with the tubing and tape it down near your site. This acts as a shock absorber, preventing the entire set from being ripped out if the tubing gets snagged on a doorknob or piece of clothing.
For those with needle sensitivity, applying an ice cube to the spot for a minute or using a topical numbing cream (as directed by your doctor) can make insertion virtually painless.
Supplies & Adhesion Hacks

- Find Your Match: Work with your care team to find the right cannula material (flexible Teflon vs. rigid steel), length, and insertion angle for your body type and lifestyle.
- Boost Adhesion: For sweaty activities or swimming, you can apply a liquid adhesive improver (like Skin Tac) before the set, or place a larger transparent dressing (like Tegaderm) over the entire site. Applying a non-gel antiperspirant to the skin 15-30 minutes before cleaning can also reduce sweat under the patch.
- Protect Sensitive Skin: If adhesives irritate your skin, use a skin barrier wipe (like Skin-Prep or Cavilon) to create a protective film. For severe sensitivity, try the “sandwich” method: apply a large hydrocolloid or other barrier dressing to your skin first, insert the infusion set through it, and then secure it with an over-bandage if needed.
- Gentle Removal: Don't rip the adhesive off like a bandage. This can strip the top layer of skin, causing irritation and pain. Use a dedicated medical adhesive remover wipe or spray to dissolve the glue, allowing the set to lift off easily.
Need supply advice? ProMed DME ships nationwide, works with most insurance plans, and has a nurse on staff to help you choose the right products for your needs.
Frequently Asked Questions about Insulin Pump Site Pain
How do I know if the cannula hit a muscle?
A cannula placed in muscle tissue causes a distinct deep, aching pain that often gets worse when you move or flex that muscle. You'll also likely experience unexpectedly high blood sugars, as insulin absorption from muscle is faster but less predictable than from fat, and can be quickly exhausted. If you suspect a muscle insertion, remove the set immediately. To prevent it from happening again, try using a shorter cannula or an angled infusion set, especially in leaner areas of your body.
What if my site bleeds during insertion?
A tiny drop of blood on the surface of the skin is usually nothing to worry about; just blot it away and apply the set. However, if you see blood fill the clear window of the cannula or back up into the tubing, it means you've likely hit a small blood vessel. This can affect insulin absorption and is a sign to change the site. A site that bleeds significantly (a “gusher”) should also be changed, as the blood can wash away the insulin being delivered. If bleeding upon insertion happens frequently, discuss your technique and cannula choice with your diabetes educator.
Can I be allergic to my infusion set?
Yes, this is possible, though true allergies are less common than simple irritation. An allergy typically involves intense itching, a spreading rash (hives), or blisters that go beyond the border of the adhesive. You could be allergic to the adhesive itself or, more rarely, the plastic or steel of the cannula. If you suspect an allergy, try using a barrier wipe like Skin-Prep under the adhesive. You can also ask your provider about trying a set with a different type of adhesive or switching from a Teflon to a steel set (or vice versa). Patch testing a new adhesive on your forearm for 24 hours can help identify the culprit.
How often should I really change my infusion site?
Most infusion set manufacturers and clinical guidelines recommend changing your site every 48 to 72 hours (2 to 3 days). Sticking to this schedule is critical for two main reasons. First, it dramatically reduces the risk of developing a serious site infection. Second, it prevents the buildup of scar tissue (lipohypertrophy) and ensures the tissue remains healthy for reliable insulin absorption. Even if a site feels fine after 3 days, the inflammatory process has begun, and insulin absorption will become less effective, leading to unexplained high blood sugars.
Conclusión
Insulin pump site pain is a message from your body that something needs attention. By listening to that message early, acting quickly, and being proactive with your site management, you can prevent most issues from becoming serious. Remember the pillars of success: rotate your sites diligently, use a clean and consistent insertion technique, and don't hesitate to try different supplies to find what works best for you. Keep spare sets handy, and always partner with your healthcare team when you need help.
ProMed DME supports pump users nationwide with free shipping, a dedicated nurse, and easy insurance coordination. For personalized supply support and to learn more about our services, visit ProMed DME.
Stay proactive, and your insulin pump can remain the flexible, freedom-giving tool it was meant to be.
Recursos y artículos relacionados
Manténgase informado con las entradas de nuestro blog informativo.
Descubra las ventajas de ProMed
y pruebe nuestros productos
Ofrecemos envío gratuito y un legendario servicio de atención al cliente para garantizar que reciba los
mejores productos de DME para sus necesidades.


